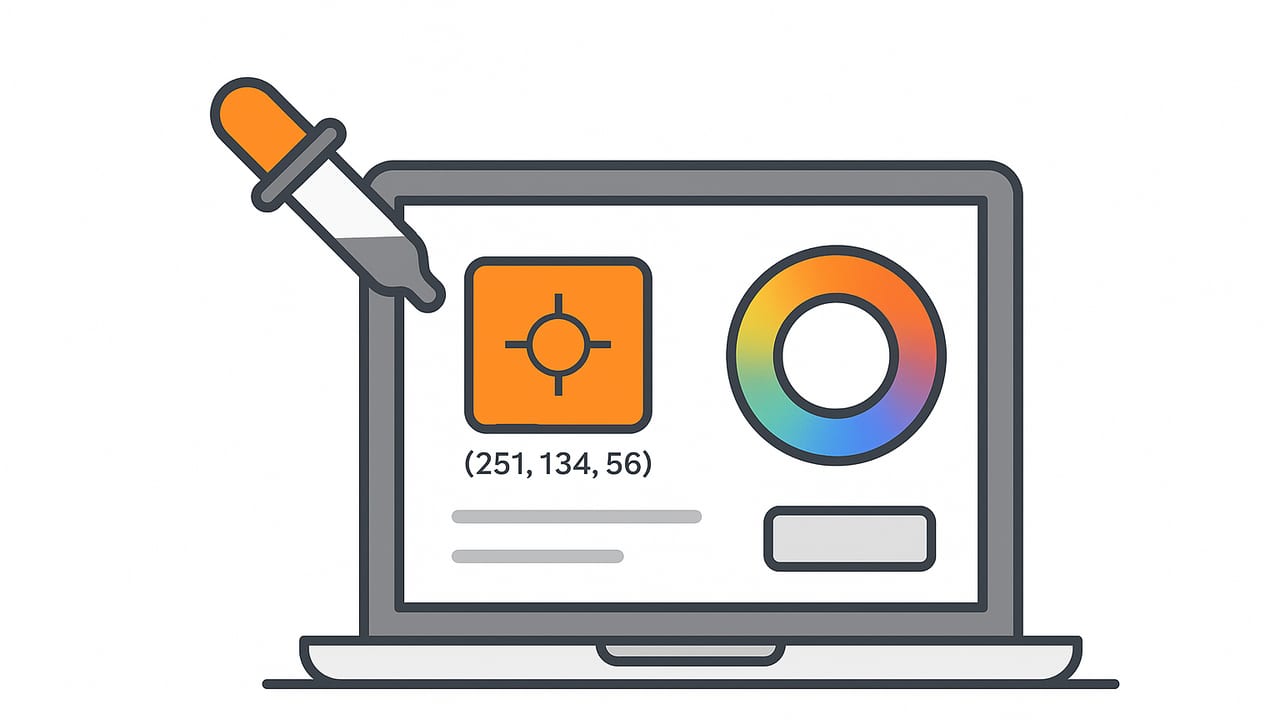
A color sampling app does more than pick a pixel and show a hex code. Done right, it measures color in a controlled way, converts values across models (RGB, HEX, HSL, HSB), and turns messy real-world imagery into reliable palettes you can use in branding, UI, illustration, interiors, and print. This guide explains how a color sampling app actually measures pixels, which algorithms make it trustworthy, and how to fold it into professional workflows without losing accuracy.
What a color sampling app actually measures
At its core, a color sampling app reads image data—an array of pixels with red, green, blue, and sometimes alpha channels—then computes representative values. The nuance lies in how many pixels are sampled, how they’re averaged, and how the app accounts for compression, lighting, and device color profiles.
Key concepts:
- Sampling footprint: Single-pixel taps are fast but noisy. Averaging a neighborhood (e.g., 3×3 or Gaussian window) stabilizes results.
- Color models: RGB is device-centric; HEX is a string representation of RGB; HSL/HSB are perceptual-ish tweaks of RGB; Lab is designed for perceptual uniformity. Many apps provide at least RGB, HEX, HSL/HSB.
- Gamma and profiles: sRGB gamma and embedded ICC profiles can change the numerical values you see. Accurate apps respect profiles and convert consistently.
- Compression artifacts: JPEG blocks and noise can bias samples. De-noising or median sampling helps.
Local vs. global color goals
There are two common tasks:
- Local sampling: You want the precise color of a painted wall or UI element. Use a small window or median to avoid specular highlights.
- Global palette extraction: You want a photo’s overall vibe. Use clustering (e.g., k-means) or quantization to distill top swatches.
Common sampling methods compared
| Method | Speed | Best for | Pros | Cons |
|---|---|---|---|---|
| Single pixel | Fastest | Tiny UI elements, solid fills | Exact pixel value | Very sensitive to noise/highlights |
| Mean of N×N window | Fast | Materials, fabrics, walls | Smooths noise, simple to compute | Can blur edges; window choice matters |
| Median of N×N window | Moderate | Specular/prone-to-glare surfaces | Robust to outliers (glare specks) | Not as smooth as mean |
| Gaussian-weighted average | Moderate | Soft, lens-like sampling | Prioritizes center, reduces edge bias | Requires radius/sigma tuning |
| K-means clustering (global) | Slower | Photo palettes, color themes | Captures overall palette | Not for precise local readings |
Accuracy factors (and how to control them)
- Lighting and white balance: Mixed lighting (daylight + tungsten) skews samples. If possible, photograph under consistent light and correct white balance before sampling.
- Surface reflectance: Glossy surfaces produce specular highlights; sample from matte regions or use median sampling.
- Compression: Prefer high-quality PNG/TIFF when you need precise color. JPEG can shift edges and introduce block artifacts.
- Color management: Images may be tagged sRGB, Display P3, or Adobe RGB. A color sampling app should detect embedded profiles and convert to your target space (usually sRGB for web).
- Zoom level: Always sample at 100% zoom to avoid interpolation artifacts from the viewer.
Quick lab-style tests for your app
Evaluate a color sampling app with these repeatable checks:
- Solid patch test: Sample a synthetic image of pure #FF0000, #00FF00, #0000FF, and neutral grays. Expect exact or near-exact values in sRGB.
- Noise robustness: Add 5–10% noise to a gray patch and compare single-pixel vs 5×5 mean/median readings.
- Highlight rejection: Photograph a glossy colored card under a lamp; median sampling should resist highlight spikes better than single-pixel.
- Profile awareness: Sample the same color patch saved as sRGB and Display P3; expect consistent readouts after conversion to your target space.
Pro tip: Measure twice, sample thrice. Take several samples around your target and average them for production-critical color.
Practical workflows by discipline
Brand and UI designers
- Import reference imagery (logos, mood photos, screenshots) at full resolution.
- Use 3×3 or 5×5 Gaussian sampling for swatches; favor matte regions.
- Convert to HEX for web and HSL for programmatic tints/shades.
- Validate contrast with text-on-background pairs (see WCAG section below).
- Export a palette to CSS variables or design tokens for handoff.
Illustrators and photographers
- Calibrate white balance first (gray card helps) and export a high-quality PNG/TIFF.
- Sample with 5×5 median to tame noise and glare.
- Build a palette with dominant tones via clustering for the overall mood, then add local accent swatches manually.
- Tag colors with contextual notes (shadow, midtone, highlight) to guide usage.
Interior and decor
- Photograph in daylight only; avoid mixed lighting.
- Sample on matte wall sections away from windows to avoid hotspots.
- Compare swatches to manufacturer fan decks; expect small deltas due to print/paint metamerism.
- Save both HEX and approximate paint codes in project notes.
Color models and conversions you’ll use most
Every color sampling app should make these models easy:
- HEX: Web-ready representation of sRGB (e.g., #1E90FF).
- RGB: Direct channel values, often 0–255.
- HSL/HSB: Handy for programmatic adjustments: think “rotate hue by 15°,” “lower saturation 10%.”
Sample code: average a pixel region and convert to HEX, HSL (Swift)
The snippet below demonstrates a simple mean sampler around a tap location, converting to HEX and HSL. In production, add bounds checks and color profile handling.
// Swift 5+ (iOS)
import UIKit

struct RGB { let r: CGFloat; let g: CGFloat; let b: CGFloat }
struct HSL { let h: CGFloat; let s: CGFloat; let l: CGFloat }

func rgbToHex(_ rgb: RGB) -> String {
    let R = Int(round(rgb.r * 255))
    let G = Int(round(rgb.g * 255))
    let B = Int(round(rgb.b * 255))
    return String(format: "#%02X%02X%02X", R, G, B)
}

func rgbToHSL(_ rgb: RGB) -> HSL {
    let r = rgb.r, g = rgb.g, b = rgb.b
    let maxV = max(r,g,b), minV = min(r,g,b)
    let l = (maxV + minV) / 2
    var h: CGFloat = 0, s: CGFloat = 0
    let d = maxV - minV
    if d != 0 {
        s = l > 0.5 ? d / (2 - maxV - minV) : d / (maxV + minV)
        if maxV == r { h = (g - b) / d + (g < b ? 6 : 0) }
        else if maxV == g { h = (b - r) / d + 2 }
        else { h = (r - g) / d + 4 }
        h /= 6
    }
    return HSL(h: h, s: s, l: l)
}

func sampleColor(in image: UIImage, at point: CGPoint, radius: Int = 2) -> RGB? {
    guard let cgImage = image.cgImage else { return nil }
    let width = cgImage.width
    let height = cgImage.height
    let colorSpace = CGColorSpaceCreateDeviceRGB()
    var rawData = [UInt8](repeating: 0, count: width * height * 4)
    let bytesPerPixel = 4
    let bytesPerRow = bytesPerPixel * width
    let bitsPerComponent = 8
    guard let ctx = CGContext(
        data: &rawData,
        width: width,
        height: height,
        bitsPerComponent: bitsPerComponent,
        bytesPerRow: bytesPerRow,
        space: colorSpace,
        bitmapInfo: CGImageAlphaInfo.premultipliedLast.rawValue
    ) else { return nil }

    let rect = CGRect(x: 0, y: 0, width: width, height: height)
    ctx.draw(cgImage, in: rect)

    // Convert point from UIKit coords (pts) to pixels if needed before calling.
    let x = Int(point.x)
    let y = Int(point.y)
    let r = max(0, radius)

    var sumR: CGFloat = 0, sumG: CGFloat = 0, sumB: CGFloat = 0
    var count: CGFloat = 0

    for yy in max(0, y - r)...min(height - 1, y + r) {
        for xx in max(0, x - r)...min(width - 1, x + r) {
            let idx = (yy * width + xx) * 4
            let R = CGFloat(rawData[idx]) / 255.0
            let G = CGFloat(rawData[idx + 1]) / 255.0
            let B = CGFloat(rawData[idx + 2]) / 255.0
            sumR += R; sumG += G; sumB += B
            count += 1
        }
    }

    let rgb = RGB(r: sumR / count, g: sumG / count, b: sumB / count)
    print("HEX:", rgbToHex(rgb))
    let hsl = rgbToHSL(rgb)
    print(String(format: "HSL: H %.0f° S %.0f%% L %.0f%%", hsl.h*360, hsl.s*100, hsl.l*100))
    return rgb
}
Notes:
- This approach calculates a simple mean; switch to a median filter for highlight rejection.
- For exactness across wide-gamut images, convert from the image’s ICC profile to sRGB before reporting values.
Accessibility: contrast and legibility
If your color sampling app is part of a UI workflow, you’ll want quick contrast checks. WCAG guidelines define contrast ratio thresholds for readable text.
| Contrast ratio | WCAG rating | Typical use |
|---|---|---|
| ≥ 7:1 | AAA (normal text) | Body text, dense copy |
| ≥ 4.5:1 | AA (normal text) | General UI and web |
| ≥ 3:1 | AA (large text) | Headlines ≥ 18pt regular or 14pt bold |
Quick formula for relative luminance in sRGB (linearized) and contrast:
// Pseudocode
// 1) Convert sRGB components (0..1) to linear:
func toLinear(_ c: Double) -> Double {
  return c <= 0.04045 ? c/12.92 : pow((c+0.055)/1.055, 2.4)
}
// 2) Relative luminance Y = 0.2126 R + 0.7152 G + 0.0722 B (linear)
// 3) Contrast(L1,L2) = (max(L1,L2)+0.05) / (min(L1,L2)+0.05)
Integrate this into your workflow: sample text and background colors, compute contrast, then adjust HSL lightness or saturation until thresholds are met.
Exporting and collaborating
After sampling, you’ll want consistent outputs your team can drop into tools:
- HEX and RGB: For web and general design.
- HSL/HSB: For programmatic tinting and dynamic themes.
- ASE/ACO/Swatches: For Adobe and cross-tool palettes.
- CSV/JSON: For design tokens and automated pipelines.
Pitfalls to avoid
- Sampling on rescaled previews: Always view at 100% to avoid bilinear filtering skew.
- Ignoring glare: Specular highlights can lift L and lower saturation. Use median sampling or move the sampling window.
- Mismatched color spaces: If your deliverable is web, convert to sRGB before publishing HEX values.
- Too few samples: One tap isn’t enough for textured materials; take multiple readings.
How to choose a color sampling app
Before adopting a tool, evaluate against these criteria:
- Sampling controls: Adjustable window sizes, median/mean, Gaussian options.
- Profile awareness: Reads embedded ICC profiles and converts to your chosen output (sRGB, Display P3).
- Palette tooling: Global extraction (k-means or quantization), sorting by hue/value, and duplicate merging.
- Precision display: Shows RGB (0–255 and 0–1), HEX, HSL/HSB with rounding options.
- Accuracy aids: Zoom loupe, grid overlays, highlight clipping warnings.
- Export flexibility: HEX/RGB/HSL, swatch files, and developer-friendly formats (CSS variables, JSON tokens).
- Workflow fit: iOS/iPad camera ingestion, batch processing, and quick sharing to Slack/Figma/Photos.
- Performance: Smooth panning/zooming over large images; real-time readouts.
- Privacy: On-device processing for sensitive assets; no uploads required unless you opt in.
Turn samples into reliable palettes
To bridge the gap from sampled values to production-ready palettes:
- Normalize: Convert all colors to sRGB for a consistent baseline.
- Organize: Cluster by hue, then order by lightness for predictable UI application.
- Annotate: Mark intent (primary, secondary, accent, background, border, state colors).
- Systematize: Derive tints/shades with HSL/HSB transforms (e.g., L ± 6–12%).
- Validate: Run automated contrast checks on key text/background pairs.
- Publish: Export as design tokens alongside human-readable swatch sheets.
Summary
A dependable color sampling app balances smart sampling (mean/median/Gaussian), solid color management (ICC-aware conversion), and practical workflow features (zoom loupe, palette building, flexible exports). Combine local sampling for precise surfaces with global clustering for mood, validate with accessibility checks, and standardize your outputs. On iOS and iPad, Color Viewfinder is a handy option to extract HEX, RGB, HSL, and HSB from photos and export polished palettes when you’re ready to share.
