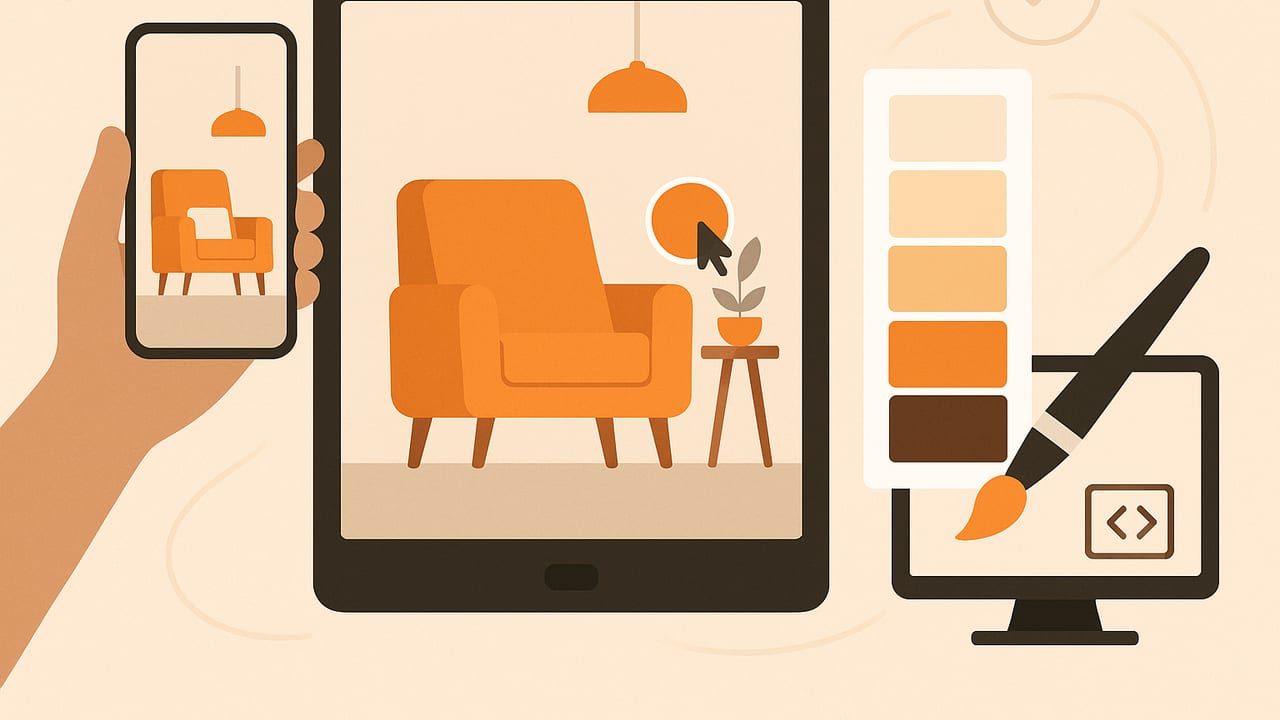
If you’ve ever built a scheme around a client’s heirloom rug, a travel snapshot, or a favorite artwork, you know the power of translating images into room-ready color. This guide shows how to create palette from photo for interior designers with a repeatable, professional workflow—from capture and sampling to validation, export, and presentation.
When a Photo-Derived Palette Works Best
Creating an interior palette from an image is especially effective when the photo:
- Features the project’s hero piece (a patterned rug, tile, or artwork) you want to echo.
- Sets a mood your client loves (a misty beach morning, a Tuscan courtyard, a forest trail).
- Contains materials already confirmed (stone slabs, cabinetry samples, fabrics).
- Will guide a single cohesive space rather than an entire multi-room project.
The goal isn’t to copy the photo verbatim. It’s to extract its structure: a reliable base, a family of supporting neutrals, and a few accents that align with light, finishes, and client preferences.
Step 1: Capture a Color-Accurate Photo
Color accuracy starts before you ever sample a pixel. Use these field-tested tips:
- Light quality: Shoot in bright, even, indirect daylight. Avoid mixed lighting (daylight + warm lamps) to reduce color casts.
- White balance: Lock white balance or use a gray card for reference. Auto WB can drift shot-to-shot.
- Glare control: Tilt slightly to reduce specular highlights on glossy finishes or framed art.
- Noise and blur: Keep ISO low and stabilize your device. Noise skews darker tones.
- Framing: Fill the frame with the subject you’ll sample. Crop out strong, irrelevant colors.
Pro tip: Take a second photo with a neutral reference (gray card or white mat board). You can later correct white balance and use that image for sampling.
Step 2: Extract Colors—Quick Methods and Advanced Controls
Interior designers need accurate HEX/RGB for digital work and HSL/HSB for nuanced adjustments. Here are practical methods:
Fast, Visual Extraction
- Mobile sampling: Use a color picker app on iOS/iPad to tap-drag and sample key areas. Save HEX, RGB, HSL, and HSB values.
- Desktop graphics tools: Drop the image into your design software, use the eyedropper, and add swatches. Quantize to 5–8 colors to find dominant tones.
Advanced: Cluster Colors with Code
If you want fine control or batch work, clustering reveals dominant groups. Here’s a compact Python example:
from PIL import Image
import numpy as np
from sklearn.cluster import KMeans

# Load and resize for speed
img = Image.open('room_inspiration.jpg').convert('RGB').resize((600, 600))
data = np.array(img).reshape(-1, 3)

# Optional: mask out highlights/shadows
# data = data[(data>20).all(axis=1) & (data<235).all(axis=1)]

k = 7  # number of palette colors
km = KMeans(n_clusters=k, n_init='auto', random_state=7).fit(data)
centers = km.cluster_centers_.astype(int)

def rgb_to_hex(r,g,b): return '#%02x%02x%02x' % (r, g, b)
hex_colors = [rgb_to_hex(*c) for c in centers]
print(hex_colors)
Use clustering to find candidates, then refine manually to balance undertones and proportions.
Sampling Strategy That Mirrors Interior Practice
- Anchor neutrals first: Pull two to three neutrals that appear repeatedly (e.g., stone, wood, background paint, grout). They form your base.
- Accents second: Pick one to three chromatic colors from focal points (art, textile motifs).
- Undertone alignment: Check whether neutrals lean warm/cool (red-brown vs. gray-green). Keep undertones compatible across paints and fabrics.
- HSB/HSL awareness: Record each color’s Brightness/Lightness and Saturation. Interiors depend on value contrast more than pure hue.
- Sample at scale: Average a small area instead of a single pixel to reduce noise and specular bias.
Step 3: Build a Room-Ready Palette
A robust interior palette has roles and hierarchy:
- Base (60%): The dominant wall or major surface color, often a light neutral that supports natural light.
- Secondary (30%): Casework, large textiles, or secondary wall color; mid-value tones that add depth.
- Accents (10%): Smaller surfaces, decor, and art picks that supply energy and focus.
Work in value steps (light, mid, dark) and plan transitions. Consider this approach:
- Set the base neutral: Choose a low-saturation tone that flatters the project’s daylight and complements wood/stone.
- Add a contrast neutral: A deeper counterpart creates shadow play and elevates trim or built-ins.
- Select 1–2 accents: Pull from the photo’s most emotionally resonant areas. If vibrant, create tints (add white) and shades (add black) to vary intensity.
- Unify with undertone: Every color should echo a shared warmth or coolness so surfaces feel cohesive.
Color Models at a Glance
| Model | What it tells you | Best for | Notes |
|---|---|---|---|
| HEX | Web-friendly representation of RGB | Sharing palettes, spec sheets, web/digital | Great for consistency across devices |
| RGB | Screen-native mixture | Digital comps, renderings | Not intuitive for value/saturation adjustments |
| HSL | Hue, Saturation, Lightness | Balancing neutral vs. chroma | Lightness is intuitive for interior value control |
| HSB/HSV | Hue, Saturation, Brightness | Creating tints/shades and accents | Brightness can track how colors read in light |
| Lab | Perceptual lightness and color-opponent axes | Precise adjustments, cross-device workflows | Useful for advanced photo correction |
Step 4: Validate the Palette in Real Light
Pixels are a start—rooms are the finish. Validate with these checks:
- Paint-out boards: Roll large samples on foamcore and move them around the space. Observe morning, midday, evening.
- Metamerism test: Colors that match in daylight may shift under warm LED. Check all intended light scenes.
- Material adjacency: Place boards next to flooring, stone, fabrics. Undertones should harmonize across surfaces.
- Scale perception: Strong accents may overpower once scaled up. Consider using intense hues on smaller, changeable items.
- Accessibility and contrast: For signage or wayfinding, aim for strong lightness contrast. Even in residences, contrast helps readability (e.g., switches on walls).
Step 5: Apply and Communicate the Palette
Translate your palette into decisions and documentation:
- Room mapping: Assign Base/Secondary/Accent to walls, millwork, ceilings, textiles, and decor.
- Proportions: Use the 60–30–10 rule as a starting point—then adjust to the space’s volume and light.
- Finish schedules: Specify sheen and product lines (e.g., matte walls, satin trim). Sheen impacts perceived value and color purity.
- Client presentations: Include the original photo, the extracted palette chips (HEX/RGB/HSL/HSB), and mockups or renderings.
- Naming and versioning: Name palettes after the project and increment versions (e.g., “Courtyard_V3_AccentsSoft”).
Export formats to consider: ASE/ACO for Adobe apps, Procreate swatches for iPad, PDF spec sheets for clients and contractors, and CSV with HEX/RGB/HSL/HSB for records.
Common Pitfalls (and Easy Fixes)
- Pitfall: Overfitting to the photo. A foggy seaside shot might look moody on screen but feel dull in a north-facing room.
Fix: Brighten the base neutral (increase HSL Lightness), push warmth for low-light spaces, and restrict the darkest tones to accents. - Pitfall: Mixed lighting during capture. Creates odd color casts and unreliable samples.
Fix: Use a gray card, correct white balance, or reshoot in consistent daylight. - Pitfall: No true neutrals. All-chroma palettes can fatigue the eye and limit longevity.
Fix: Add at least two value-separated neutrals to ground the scheme. - Pitfall: Saturation that doesn’t scale. A vivid accent pulled from a tiny pixel area can overwhelm when painted on a wall.
Fix: Test tints and mid-saturation variants on boards before committing. - Pitfall: Ignoring undertones. Blue-gray trim with red-beige carpeting fights visually.
Fix: Align undertones (warm with warm, cool with cool) or introduce a bridging neutral.
Workflow Checklist (Save or Share)
- Define the mood and the room’s light conditions.
- Capture a clean photo (plus a gray card shot).
- Correct white balance; crop to the relevant subject.
- Extract candidates (5–8 colors) via app or clustering.
- Pick 2–3 neutrals (base + contrast) and 1–3 accents.
- Check undertones; align with existing materials.
- Create tints/shades of accent colors in HSL/HSB.
- Build paint-out boards; assess across light scenes.
- Finalize proportions (60–30–10 as a guide).
- Export swatches and spec sheets; present to the client.
FAQs
How many colors should an interior palette include?
For most rooms, 5–7 well-structured colors are plenty: two or three neutrals in different values, one or two accents, and optional deep contrast for millwork or hardware integration.
What if the photo is noisy or low-resolution?
Reshoot if possible. Otherwise, blur slightly before sampling to average pixels, avoid blown highlights/shadows, and sample medium-value areas that represent how surfaces actually appear.
How do I reconcile a photo-derived palette with paint brands?
Convert the extracted HEX/RGB to the closest fan deck matches using manufacturer tools or a spectro service, then compare on large boards. Small chips are rarely sufficient.
Can I use a single photo for an entire home?
You can derive a core neutral family from one image, but plan variations per room. Different orientations and light temperatures require tuned values and warmth.
Advanced Tips for Pros
- Segment by material: When sampling from complex photos (e.g., kitchen scenes), sample separate masked areas: stone, wood, metal, textiles.
- Value-first editing: In HSL, set Lightness steps (e.g., 90/65/35) across neutral and accent families to ensure legible contrast.
- Contrast planning: Ensure trim-to-wall and hardware-to-surface differences are visible in low and high light.
- Palette resilience: Create a backup accent (a calmer tint) for clients who tire of saturation or for resale considerations.
Putting It All Together
To create palette from photo for interior designers, think beyond “favorite color” and toward a system that honors light, material undertones, and scale. Capture accurately, extract thoughtfully, structure by role (base, secondary, accents), and validate in the room. Document with clear values (HEX/RGB/HSL/HSB), export for your tools, and present with confidence.
Good palettes aren’t just pretty—they’re legible at scale, comfortable across time, and tuned to the real light your clients live in.
Looking for a lightweight way to sample and export HEX, RGB, HSL, and HSB on the go? On iPhone or iPad, the Color Viewfinder app can extract colors from photos and export palettes in multiple formats—handy when you’re building schemes from site visits or client snapshots.
