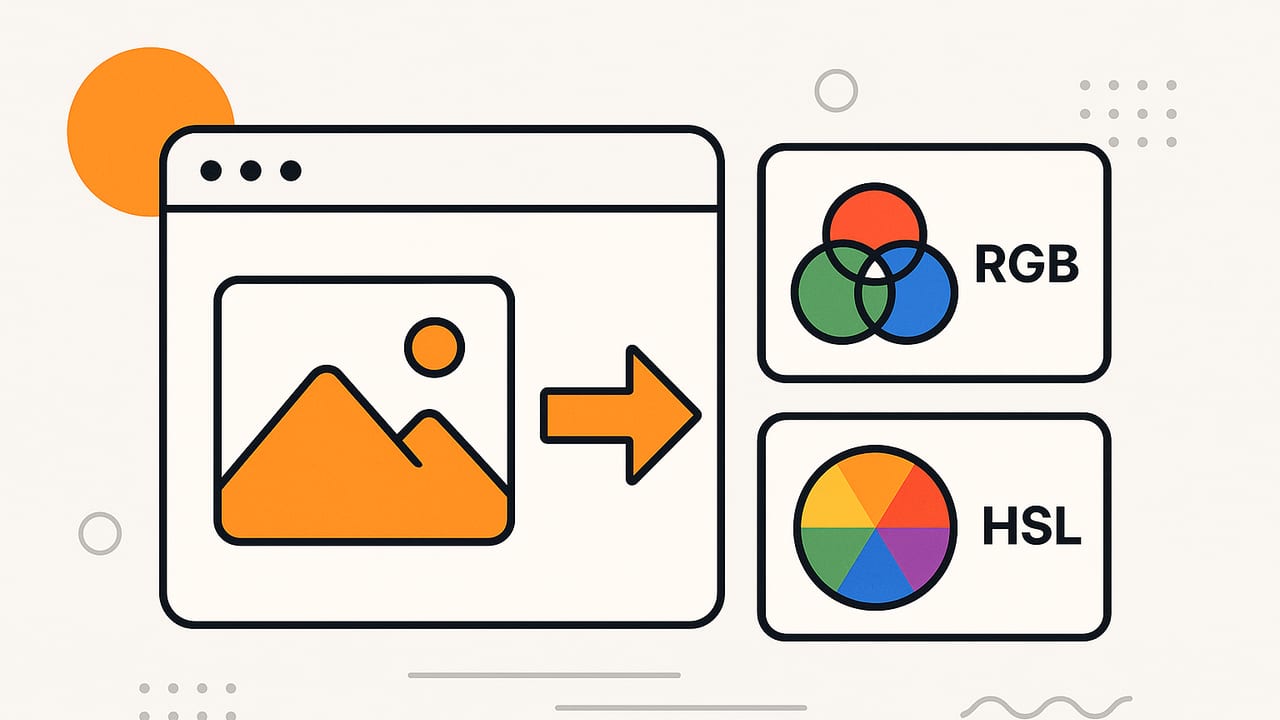
If you work with photos and need precise palette values, you’ll eventually ask how to convert image colors to RGB and HSL accurately. Whether you’re building a UI theme from a photo, matching paint, or generating palettes for branding, the core tasks are the same: sample pixels, manage color spaces, and convert into designer-friendly formats. This guide explains practical workflows, pitfalls, and code examples so you can reliably extract RGB and HSL from any image.
RGB vs HSL: What They Represent and When to Use Each
RGB is device-oriented: it represents color as additive light (red, green, blue) with values typically in 0–255. HSL is a cylindrical transform designed to be more intuitive for humans, representing color as hue (angle), saturation, and lightness. Designers often tweak HSL to build tints, shades, and harmonious variants without losing color identity, while developers tend to store and render RGB (or HEX) because that’s how most displays operate.
| Aspect | RGB | HSL |
|---|---|---|
| Purpose | Device/display representation | Human-friendly editing and harmony |
| Typical Range | 0–255 per channel (8-bit) | H: 0–360°, S: 0–100%, L: 0–100% |
| Best For | Storage, rendering, precise pixel data | Adjusting mood, building schemes, UX tweaks |
| Perceptual Uniformity | Low (naive edits can shift appearance) | Higher intuition; still not fully uniform |
End-to-End Workflow to Convert Image Colors to RGB and HSL
- Load the image with color management. Browser canvases and native frameworks can respect embedded ICC profiles; default to sRGB when unknown.
- Downscale for performance. If you only need dominant colors, resize to ~300–600 px on the long edge to reduce noise and CPU time.
- Choose a sampling strategy. Pick single-pixel sampling, area averaging, or clustering (e.g., k-means/median cut) depending on your goal.
- Extract RGB. Obtain 8-bit sRGB values per pixel. If you need precision, linearize before certain computations.
- Convert to HSL. Use a standard sRGB-to-HSL formula. Keep ranges consistent: H in degrees, S/L as percentages.
- Export. Provide HEX (#RRGGBB), RGB (r, g, b), and HSL (h, s%, l%). Optionally include HSB/HSV if you plan to adjust brightness rather than lightness.
JavaScript Example: Canvas Sampling and Conversion
The following snippet shows how to load an image into a canvas, sample pixels, and convert to HSL. It assumes sRGB input, which is common on the web.
// HTMLImageElement to Canvas, then sample and convert
function imageToCanvas(img) {
  const canvas = document.createElement('canvas');
  const ctx = canvas.getContext('2d', { willReadFrequently: true });
  canvas.width = img.naturalWidth;
  canvas.height = img.naturalHeight;
  ctx.drawImage(img, 0, 0);
  return { canvas, ctx };
}

function getPixelRGB(ctx, x, y) {
  const data = ctx.getImageData(x, y, 1, 1).data; // [r,g,b,a]
  return { r: data[0], g: data[1], b: data[2], a: data[3] / 255 };
}

function rgbToHsl(r, g, b) {
  // r,g,b in [0,255]
  r /= 255; g /= 255; b /= 255;
  const max = Math.max(r, g, b), min = Math.min(r, g, b);
  let h, s, l = (max + min) / 2;
  if (max === min) { h = 0; s = 0; }
  else {
    const d = max - min;
    s = l > 0.5 ? d / (2 - max - min) : d / (max - min);
    switch (max) {
      case r: h = (g - b) / d + (g < b ? 6 : 0); break;
      case g: h = (b - r) / d + 2; break;
      case b: h = (r - g) / d + 4; break;
    }
    h *= 60;
  }
  return { h, s: s * 100, l: l * 100 };
}

// Example usage
// const img = document.querySelector('img'); img.onload = () => { ... }
function sampleCenterHsl(img) {
  const { ctx, canvas } = imageToCanvas(img);
  const x = Math.floor(canvas.width / 2);
  const y = Math.floor(canvas.height / 2);
  const { r, g, b } = getPixelRGB(ctx, x, y);
  const hsl = rgbToHsl(r, g, b);
  return { rgb: { r, g, b }, hsl };
}
Tip: If you need a more robust color, average a small region (e.g., 9×9 pixels) instead of relying on a single pixel, which might be noise or specular highlight.
iOS Example: Sampling a Pixel and Converting to HSL in Swift
On iOS, use Core Graphics to read pixel data and Core Image or Core Graphics to honor color profiles. The example below ensures sRGB output to keep conversions consistent.
import UIKit
import CoreGraphics

struct RGB { let r: Int; let g: Int; let b: Int }
struct HSL { let h: Double; let s: Double; let l: Double }

func samplePixelRGB(from image: UIImage, at point: CGPoint) -> RGB? {
    guard let cgImage = image.cgImage else { return nil }
    let width = cgImage.width
    let height = cgImage.height
    let colorSpace = CGColorSpace(name: CGColorSpace.sRGB)!
    var pixelData = [UInt8](repeating: 0, count: 4)
    let context = CGContext(
        data: &pixelData,
        width: 1,
        height: 1,
        bitsPerComponent: 8,
        bytesPerRow: 4,
        space: colorSpace,
        bitmapInfo: CGImageAlphaInfo.premultipliedLast.rawValue
    )
    let x = Int(min(max(point.x, 0), CGFloat(width - 1)))
    let y = Int(min(max(point.y, 0), CGFloat(height - 1)))
    context?.draw(cgImage, in: CGRect(x: -x, y: -(height - 1 - y), width: width, height: height))
    return RGB(r: Int(pixelData[0]), g: Int(pixelData[1]), b: Int(pixelData[2]))
}

func rgbToHsl(_ rgb: RGB) -> HSL {
    var r = Double(rgb.r) / 255.0
    var g = Double(rgb.g) / 255.0
    var b = Double(rgb.b) / 255.0
    let maxV = max(r, g, b), minV = min(r, g, b)
    var h = 0.0, s = 0.0
    let l = (maxV + minV) / 2.0
    if maxV != minV {
        let d = maxV - minV
        s = l > 0.5 ? d / (2 - maxV - minV) : d / (maxV - minV)
        if maxV == r { h = (g - b) / d + (g < b ? 6 : 0) }
        else if maxV == g { h = (b - r) / d + 2 }
        else { h = (r - g) / d + 4 }
        h *= 60.0
    }
    return HSL(h: h, s: s * 100.0, l: l * 100.0)
}
Note: If your UIImage originates from Display P3, the above context forces an sRGB interpretation. That keeps transformations predictable across platforms and matches typical web expectations.
Color Management: Profiles, Gamma, and Transparency
- ICC profiles: Modern pipelines often embed profiles (sRGB, Display P3). If a profile is present, convert to sRGB for consistent RGB/HSL values across devices.
- Gamma and linearization: sRGB is non-linear. If you’re averaging colors or computing distances (for clustering), convert to linear RGB first, average/compute, then convert back to sRGB to display.
- Alpha (premultiplication): Canvas and Core Graphics may deliver premultiplied alpha. When reading pixels, rely on APIs that return unpremultiplied components, or un-premultiply before conversion.
- White balance and lighting: Photos taken under mixed light can skew hue. If you’re matching paint or products, capture in neutral light or use a color reference card.
Sampling Strategies: Single Pixel, Area Average, or Dominant Colors
Different goals require different strategies:
- Single pixel: Fast but noisy. Use when you need a very specific point (e.g., a button color in a UI screenshot).
- Area average: Smooths noise and specular highlights. Great for sampling fabrics, walls, and skin tones.
- Dominant colors (palette): Use k-means or median cut to find representative colors across the whole image. Ideal for mood boards and brand palettes.
Minimal k-means outline for sRGB:
// Pseudocode: k-means on sRGB pixels (convert to linear for better distance)
init k centroids (random pixels)
repeat until convergence or maxIters:
  assign each pixel to nearest centroid (Euclidean)
  recompute each centroid as mean of its cluster
// Convert centroid RGBs back to sRGB if you computed in linear space
Pro tip: If you care about perceptual similarity, compute distances in a more uniform space (e.g., OKLab) for clustering, then convert final values back to RGB/HSL for display.
Performance Tips for Large Images
- Downsample early: Resizing images before analysis yields huge speed gains with minimal effect on palette quality.
- Tile processing: For massive images, process in tiles to cap memory usage.
- Quantization first: Reduce to 256–1024 colors before k-means to accelerate convergence.
- Web Workers / concurrency: Offload CPU-intensive tasks to workers (web) or background threads (native).
- Avoid repeated decode: Reuse canvases/contexts and cache intermediate results like downscaled versions.
Verification: Trust but Verify Your Conversions
Before you rely on your pipeline, test known values. For example, pure red in sRGB is RGB(255, 0, 0), which should convert to HSL(0°, 100%, 50%). Similarly, gray mid-tone RGB(128, 128, 128) should yield HSL(h: 0°, s: 0%, l: ~50%). Round-trip conversions (RGB → HSL → RGB) should reproduce the original within rounding error. If not, you might be mixing color spaces, mis-scaling ranges, or mishandling alpha.
Rule of thumb: Keep everything in sRGB unless you have a strong reason not to—and document any conversions explicitly.
Common Pitfalls When You Convert Image Colors to RGB and HSL
- Mismatched ranges: Ensure H is degrees (0–360) and S/L are percentages (0–100). Don’t mix with 0–1 ranges unless your UI clearly indicates it.
- Ignoring embedded profiles: A Display P3 image interpreted as sRGB will shift vivid reds and greens.
- Sampling over edges: Edges and text anti-aliasing can produce unexpected averages. Sample larger regions or use edge-aware masks.
- Specular highlights: Bright reflections can skew averages. Median or trimmed mean is more robust than pure mean in glossy scenes.
- Overfitting to noise: For clustering, use downsampling and optional blur to stabilize results.
Practical Use Cases and Output Formats
Once you convert image colors to RGB and HSL, presenting them clearly matters. Designers expect multiple formats and easy copying. Offer:
- HEX: #RRGGBB (or #RRGGBBAA when alpha matters)
- RGB: rgb(r, g, b) with integers
- HSL: hsl(h, s%, l%) tuned for quick hue and mood adjustments
- HSB/HSV: Popular for brightness-driven edits (useful in painting and lighting contexts)
Real-world examples:
- Interior design: Average a wall area to get a reliable base color, then use HSL to create lighter trims (increase L) and accent colors (shift H slightly).
- Branding: Extract 5 dominant colors via k-means, then curate into primary/secondary/neutral roles. Convert to both RGB and HSL for developer handoff and designer iteration.
- UI design: Pick a hero image and derive a theme; generate hover/focus states by adjusting HSL saturation and lightness.
Reference: Ranges and Examples
| Color | RGB | HSL | HEX |
|---|---|---|---|
| Red | 255, 0, 0 | 0°, 100%, 50% | #FF0000 |
| Green | 0, 255, 0 | 120°, 100%, 50% | #00FF00 |
| Blue | 0, 0, 255 | 240°, 100%, 50% | #0000FF |
| Mid Gray | 128, 128, 128 | 0°, 0%, ~50% | #808080 |
Checklist: Reliable Conversion from Any Photo
- Honor ICC profiles; default unknown images to sRGB.
- Downscale before analysis for speed and stability.
- Pick the right sampler: pixel, area average, or clustering.
- Use linear RGB for averaging and distance metrics when possible.
- Convert to HSL with standard formulas, keep ranges explicit.
- Offer HEX, RGB, HSL outputs; document any rounding.
- Visually verify against known swatches.
Final Thoughts
Converting image colors to RGB and HSL becomes straightforward once you control for color profiles, sampling noise, and consistent ranges. Start simple—sRGB, area averages, standard conversions—then add clustering and perceptual tweaks as your needs grow. If you prefer a ready-made workflow on iPhone or iPad, Color Viewfinder offers quick extraction of HEX, RGB, HSL, and HSB from photos with customizable palette layouts and export options.
