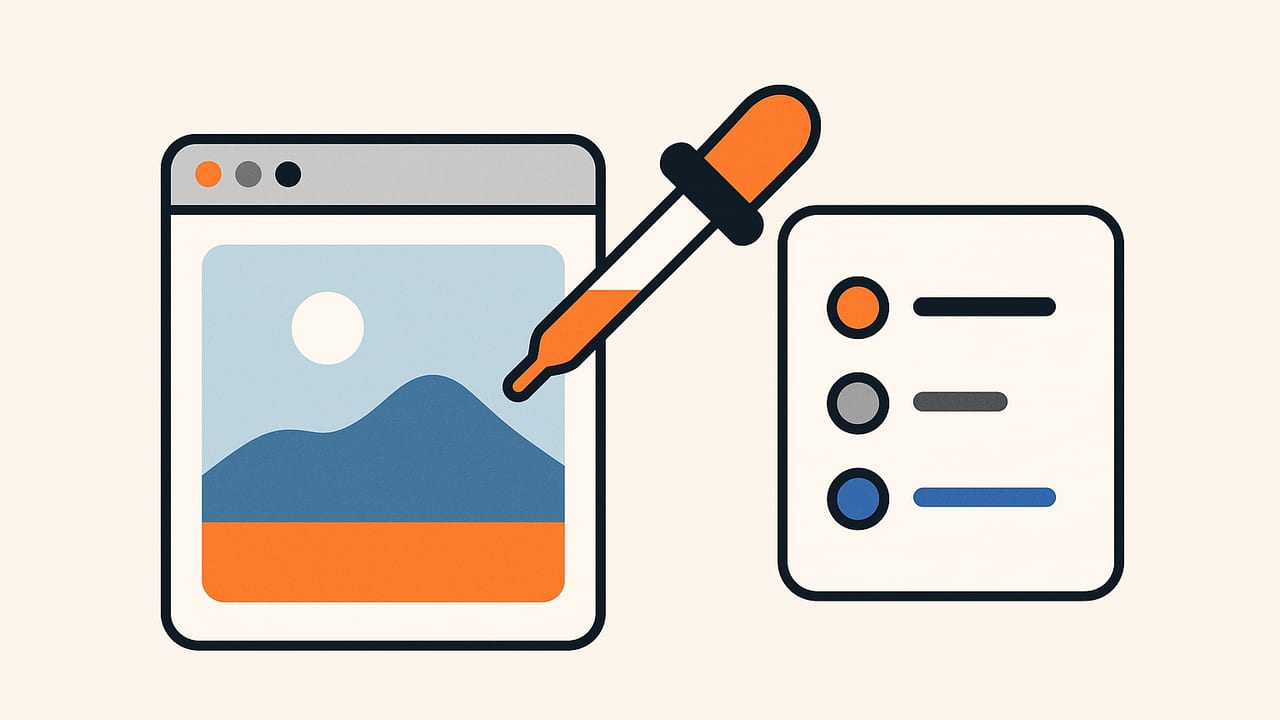
Whether you’re designing a website, matching paint, or building a brand palette, knowing how to get RGB values from photo sources is essential. This guide explains practical methods on mobile and desktop, shows step-by-step workflows, and shares code you can reuse. You’ll also learn how to avoid common accuracy pitfalls like color profiles, compression, and sampling noise.
RGB Basics and Why Color Management Matters
RGB (Red, Green, Blue) represents color as three channels, typically on a 0–255 scale in 8-bit images. Most photos you handle are in sRGB, the standard color space for the web and many devices. Other profiles like Display P3 or Adobe RGB can contain a wider range of colors. If you sample RGB without handling profiles correctly, values can be misleading.
- ICC profiles: Embedded color profiles describe how to interpret pixel values. Always preserve or convert profiles, don’t just discard them.
- Gamma vs. linear: Most images are gamma-encoded. Unless you’re doing advanced compositing, sample in the display-referred (non-linear) space to match what you see.
- Calibration: A calibrated display ensures that the color you see—and therefore the pixel you sample—matches standards.
Ways to Get RGB Values from a Photo
You can extract RGB values from photos using mobile apps, desktop editors, browser-based tools, or code. Choose the method that fits your workflow and accuracy requirements.
1) Mobile (iOS and Android)
- Open the photo in a dedicated color picker app.
- Use the eyedropper or magnifier to position over the pixel or area you want.
- Note the RGB values and, if available, HEX, HSL, and HSB.
- For textured surfaces, enable averaged sampling (e.g., 3×3 or 5×5) to reduce noise.
Tip: If you’re capturing a scene with your phone camera for later sampling, shoot in good, even lighting and avoid strong color casts. When possible, include a neutral gray card to correct white balance before sampling.
2) Desktop: Photoshop, Affinity Photo, GIMP
Desktop editors provide highly controlled sampling.
- Open the image, preserving the embedded profile.
- Check your Color Settings and set your working space to sRGB if you need web-oriented values.
- Use the Eyedropper Tool with a Sample Size (e.g., 5×5 Average) to mitigate single-pixel noise.
- Look at the Info panel to read RGB values; you can also switch readouts to HSB, Lab, etc.
- If your image is in a wide-gamut space (e.g., Adobe RGB), choose Convert to Profile → sRGB for web consistency before recording RGB.
3) Online Tools
Browser-based pickers let you upload a photo and click to get RGB values. They’re quick and useful for one-off tasks.
- Pros: Fast, no install, easy sharing.
- Cons: Uploading can affect privacy; color management varies by tool; large images may be downsampled.
4) Code: JavaScript (Canvas) and Python (Pillow/OpenCV)
Programmatic extraction is ideal for automation, batch processing, and custom analytics.
JavaScript (Canvas) Example
// HTML: <input type="file" id="picker" accept="image/*"/> <canvas id="c"></canvas>
const input = document.getElementById('picker');
const canvas = document.getElementById('c');
const ctx = canvas.getContext('2d');

input.addEventListener('change', async (e) => {
  const file = e.target.files[0];
  if (!file) return;
  const img = new Image();
  img.onload = () => {
    canvas.width = img.naturalWidth;
    canvas.height = img.naturalHeight;
    ctx.drawImage(img, 0, 0);
  };
  img.src = URL.createObjectURL(file);
});

canvas.addEventListener('mousemove', (e) => {
  const rect = canvas.getBoundingClientRect();
  const x = Math.floor((e.clientX - rect.left) * (canvas.width / rect.width));
  const y = Math.floor((e.clientY - rect.top) * (canvas.height / rect.height));
  const { data } = ctx.getImageData(x, y, 1, 1);
  const [r, g, b] = data; // RGBA; we ignore A here
  // Display r,g,b or convert to hex
});
Note: For cross-origin images, set img.crossOrigin = "anonymous" and ensure the server sends proper CORS headers.
Python (Pillow) Example with Averaged Sampling
from PIL import Image
import numpy as np

def average_rgb(path, x, y, radius=2):
    img = Image.open(path).convert('RGB')  # converts to RGB in sRGB by default
    arr = np.array(img)
    h, w, _ = arr.shape
    x0, x1 = max(0, x - radius), min(w, x + radius + 1)
    y0, y1 = max(0, y - radius), min(h, y + radius + 1)
    region = arr[y0:y1, x0:x1]
    mean = region.reshape(-1, 3).mean(axis=0)
    return tuple(int(round(v)) for v in mean)

print(average_rgb('photo.jpg', 640, 480, radius=3))
This averages a square region (e.g., 7×7 when radius=3) to reduce noise and compression artifacts.
Optional: Python (OpenCV) for Speed and Batch Processing
import cv2
import numpy as np

def sample_bgr(path, samples):
    img = cv2.imread(path, cv2.IMREAD_COLOR)  # BGR
    results = []
    for (x, y) in samples:
        b, g, r = img[y, x]
        results.append((int(r), int(g), int(b)))
    return results

coords = [(100, 100), (200, 250)]
print(sample_bgr('photo.jpg', coords))
Remember OpenCV uses BGR order; swap to RGB when reporting values.
Comparison of Methods
| Method | How It Works | Pros | Cons | Best For |
|---|---|---|---|---|
| Mobile app | Open photo, tap eyedropper | Fast, portable | Smaller screens; app accuracy varies | On-the-go sampling |
| Desktop editor | Eyedropper + Info panel | Profile-aware, precise controls | Requires software, learning curve | Design and production work |
| Online tool | Upload and click | Quick, no install | Privacy, color management varies | One-off tasks |
| JavaScript | Canvas getImageData() | In-browser interactivity | CORS, profile nuances | Web demos and tools |
| Python | Pillow/OpenCV sampling | Automation, batch, advanced | Requires scripting | Data pipelines, batch analysis |
Accuracy Playbook: Get Reliable RGB Values
- Work in sRGB unless you need wide gamut: Convert wide-gamut photos to sRGB when your target is web or typical device displays.
- Use averaged sampling: A 3×3 to 11×11 kernel reduces noise, texture, and JPEG blocking.
- Zoom to 100% (1:1): Avoid scaling artifacts while sampling in editors.
- Beware of on-the-fly adjustments: Some viewers apply enhancements; sample from neutral editors or disable auto enhancements.
- Correct white balance first: If the photo is too warm/cool, adjust WB so neutrals are neutral, then measure.
- Use RAW when capturing: Develop to a known target (e.g., sRGB, D65, gamma 2.2), then sample.
- Calibrate your display: A calibrated monitor reduces perceptual surprises.
Pro tip: If the sampled RGB must match a real-world paint or fabric, include a reference swatch or gray card in the shot, correct to it, then sample. This tightens the loop between capture and measurement.
A Consistent Workflow to Get RGB Values from Photo
- Ingest: Duplicate your image; keep an untouched original.
- Profile check: If the image has an embedded profile, honor it. If not, assume sRGB unless you have metadata proving otherwise.
- Convert to sRGB (if needed): For web and general use, standardize to sRGB before sampling.
- Set sampling: Choose a 5×5 to 11×11 averaged eyedropper.
- Sample strategically: Avoid specular highlights and deep shadows; sample representative midtones or balanced areas.
- Record values: Store RGB alongside source image name, coordinates, and notes (lighting, corrections).
- Export: Create swatches or palettes (ASE, GPL, ACO) for reuse in design tools.
Batch Extraction Example (Python)
from PIL import Image
import csv

samples = {
    'photo1.jpg': [(100, 200), (400, 500)],
    'photo2.jpg': [(50, 50), (300, 300)]
}

with open('rgb_samples.csv', 'w', newline='') as f:
    writer = csv.writer(f)
    writer.writerow(['file', 'x', 'y', 'R', 'G', 'B'])
    for path, coords in samples.items():
        img = Image.open(path).convert('RGB')
        pixels = img.load()
        for (x, y) in coords:
            r, g, b = pixels[x, y]
            writer.writerow([path, x, y, r, g, b])
From Sampling to Palettes: Optional Clustering
If you want to summarize a photo into a few key colors, use clustering. K-means finds dominant colors, then you can report their RGB values.
from PIL import Image
import numpy as np
from sklearn.cluster import KMeans

img = Image.open('photo.jpg').convert('RGB')
arr = np.array(img).reshape(-1, 3)
# Subsample for speed
subset = arr[np.random.choice(arr.shape[0], size=50000, replace=False)]

kmeans = KMeans(n_clusters=5, n_init='auto', random_state=42).fit(subset)
centers = kmeans.cluster_centers_.round().astype(int)
print('Dominant RGB colors:', centers)
Clustering is great for palettes, but it’s not a substitute for pixel-accurate sampling (e.g., when matching brand or material colors).
Common Pitfalls (and Fixes)
- “My RGB doesn’t match the HEX from my design tool.” Ensure both are in sRGB and using the same rounding; HEX is simply RGB converted to base 16. If one environment is in Display P3 and another in sRGB, values won’t match.
- “Sampling a rescaled image gives weird values.” Always sample at 100% preview or from the original-resolution image.
- “JPEG artifacts distort the color.” Average over a small area (5×5+) or sample from a TIFF/PNG if available.
- “The web demo shows different numbers on different monitors.” Browser color management varies by OS/display; treat the numbers as image-referred, not display-dependent.
Exporting and Organizing Your Colors
After you get RGB values from photo sources, keep them organized:
- Name your swatches: Use meaningful labels (e.g., “Brand Primary,” “Mural Wall Midtone”).
- Store formats: Keep both HEX and RGB. For print work, also capture CMYK or Lab if your tool supports it.
- Export palettes: Save as ASE/ACO/GPL for reuse across Adobe, Affinity, GIMP, and other tools.
- Document context: Record lighting conditions and any corrections used before sampling.
Quick Reference: RGB, HEX, HSL Conversions
Once you have RGB, you’ll often need other representations.
// JS: RGB to HEX
function rgbToHex(r, g, b) {
  return '#' + [r, g, b]
    .map(v => v.toString(16).padStart(2, '0'))
    .join('');
}

// JS: RGB (0-255) to HSL
function rgbToHsl(r, g, b) {
  r /= 255; g /= 255; b /= 255;
  const max = Math.max(r, g, b), min = Math.min(r, g, b);
  let h, s, l = (max + min) / 2;
  if (max === min) { h = s = 0; }
  else {
    const d = max - min;
    s = l > 0.5 ? d / (2 - max - min) : d / (max + min);
    switch (max) {
      case r: h = (g - b) / d + (g < b ? 6 : 0); break;
      case g: h = (b - r) / d + 2; break;
      case b: h = (r - g) / d + 4; break;
    }
    h /= 6;
  }
  return { h: Math.round(h * 360), s: Math.round(s * 100), l: Math.round(l * 100) };
}
Conclusion
To reliably get RGB values from a photo, choose the right method for your situation and respect color management. For quick tasks, mobile and online tools are fast. For production work, desktop editors provide precision and control. When you need automation or analytics, lean on JavaScript or Python. No matter the route, standardize on sRGB (unless you truly need wide-gamut values), sample with small-area averages, and record your process so results are repeatable.
If you prefer a streamlined mobile workflow on Apple devices, the iOS and iPad app Color Viewfinder can extract HEX and show corresponding RGB, HSL, and HSB values from photos, with options to organize and export palettes.
