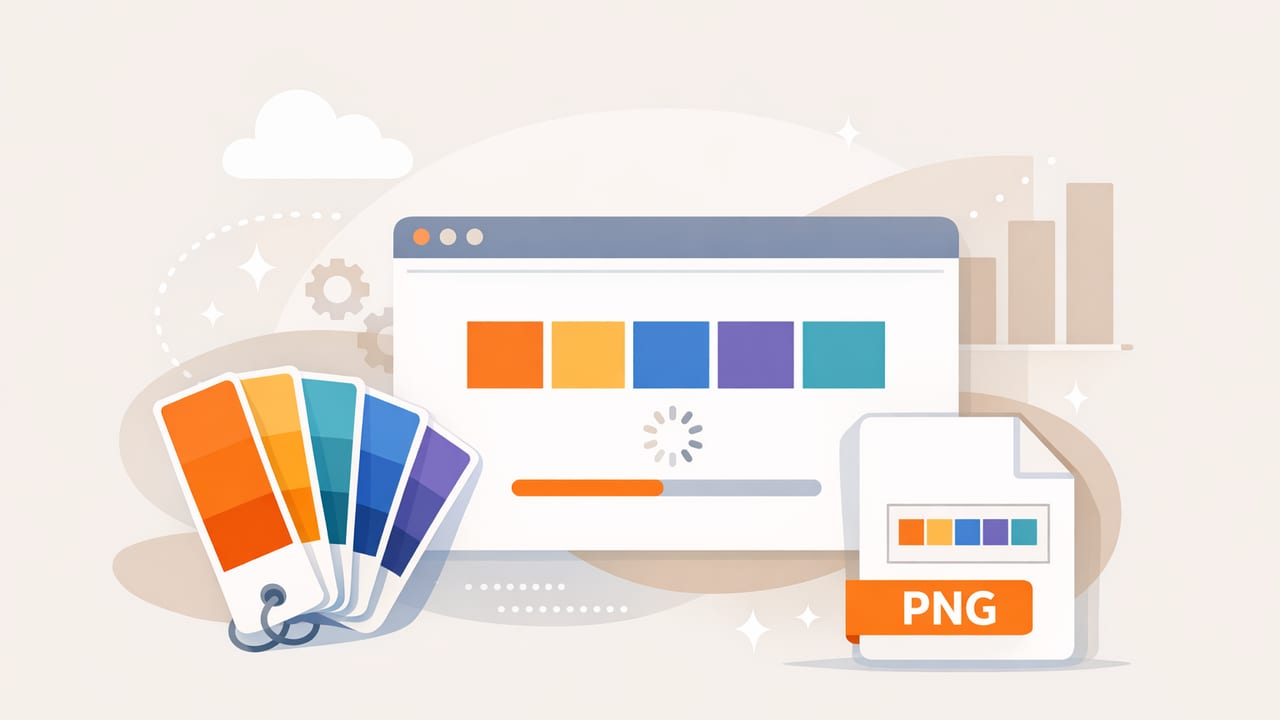
A PNG color palette is one of the most practical ways to share color decisions across tools, teams, and devices. Unlike app-specific formats, a PNG is universally viewable, easy to drop into a deck or mood board, and reliable for quick approvals. If you’ve ever needed to show a client “these are the exact swatches,” the ability to save color palette to PNG is an underrated workflow superpower.
This guide covers what makes a good palette PNG, how to export one cleanly, and how to avoid common mistakes (like swatches that look correct but don’t match in production). You’ll also find layout tips, sizing recommendations, and a quick comparison of PNG vs other export formats.
Why export a color palette as PNG?
Designers use palette formats like ASE, GPL, or CSS variables for implementation—but PNG is a communication format. It’s ideal when you need something that can be:
- Viewed anywhere (email, chat, slides, notes, printouts)
- Shared with non-designers who don’t use Adobe or Figma
- Attached to project documentation as a visual reference
- Added to mood boards alongside photos and materials
- Archived as a “snapshot” of a brand or room scheme
Rule of thumb: Export code for building, export PNG for alignment. PNG is the fastest way to get everyone looking at the same colors.
What a “good” palette PNG includes
You can technically export five colored squares and call it a day. But a great palette PNG prevents confusion later—especially when colors are close together (e.g., two warm grays) or when projects involve print, paint, or materials.
1) Swatches with consistent spacing
Keep margins and gutters consistent so the palette looks deliberate. A messy layout reduces trust (even if the colors are right).
2) Clear labels (HEX + optional name)
If your goal is handoff, include HEX values directly on the PNG. The most useful label set is:
- HEX (e.g., #1F2937) for web/UI
- RGB when stakeholders think in “screen values”
- Optional names (e.g., “Charcoal 900”) for brand systems
3) A background choice that doesn’t distort perception
Neutral backgrounds (white, light gray, or dark charcoal) help the palette read accurately. Avoid saturated backgrounds that shift perceived hue. If your export supports it, transparent background can be useful for dropping the palette into slides or boards without a box around it.
4) A palette order that matches intent
Don’t just arrange colors randomly. Consider one of these standard orders:
- Light-to-dark (best for UI scales and paint families)
- Warm-to-cool (great for interiors and mood boards)
- Primary / secondary / accent (best for brand and marketing)
- Usage-based: Background → surface → text → accent → warning/success
Step-by-step: how to save color palette to PNG (a practical workflow)
The exact buttons vary by tool, but the workflow is consistent. Use this as a checklist whether you’re exporting from a mobile palette app, a design tool, or a template.
-
Start from a verified palette. If your palette comes from a photo, sample multiple points per color (shadows and highlights can skew results). Aim for “representative” midtones for each swatch.
-
Decide your palette format: number of swatches (commonly 5–8), orientation (horizontal or grid), and whether labels are inside or below swatches.
-
Add labels before exporting. Labels baked into the PNG prevent copy/paste errors later. If labels aren’t available in your export tool, add them in a template (Canva/Figma/Keynote) and export from there.
-
Choose resolution intentionally. For quick sharing, 1200–2000 px width is usually enough. For presentations or print, go higher (details below).
-
Export as PNG. Prefer “PNG-24” (full color) when available. If you need transparency, enable it.
-
Name the file clearly so it’s searchable in a shared folder.
Recommended PNG sizes (so it looks sharp everywhere)
PNG doesn’t scale infinitely like SVG, so size matters. Here are safe defaults that balance quality and file size:
| Use case | Suggested size | Notes |
|---|---|---|
| Chat/email sharing | 1200 × 800 px | Readable on phones and laptops |
| Slides / presentations | 1920 × 1080 px | Matches common slide resolution |
| Mood board / portfolio | 2000–3000 px width | More detail for zooming |
| Print reference sheet | 3000+ px width | Also consider exporting a PDF for print workflows |
PNG vs other palette export formats (when PNG wins)
It helps to know what PNG is best at—and what it isn’t.
| Format | Best for | Limitations |
|---|---|---|
| PNG | Sharing, approvals, documentation, mood boards | Not directly importable as editable swatches |
| ASE | Adobe swatch import | Tool-specific; not readable for non-designers |
| SVG | Scalable palettes for web docs and templates | Some stakeholders can’t preview easily |
| CSS/JSON | Implementation in apps/sites | Not visual; requires developer context |
Common mistakes when you save a color palette to PNG
Mistake 1: exporting without contrast-safe labels
If your labels sit on top of swatches, use an automatic contrasting label color (white on dark swatches, black on light). If your tool doesn’t handle this, place labels below the swatches on a neutral background.
Mistake 2: trusting photo colors without accounting for lighting
A photo includes color temperature, exposure, and camera processing. If you’re extracting colors from a room or product shot, verify swatches against a neutral reference when possible. If not, sample multiple points and avoid extreme highlights/shadows.
Mistake 3: using too many swatches
More swatches can create indecision. For most projects:
- 5 swatches = clean, fast alignment
- 6–8 swatches = enough for UI states or layered interiors
- 10+ = use only if you’re defining a full system (and label clearly)
Mistake 4: palette order that hides the story
Order affects perception. If the goal is “calm and airy,” leading with a dark accent can miscommunicate the intent. Put your dominant background or base neutral first when presenting.
A simple naming convention for palette PNGs (so you can find them later)
Palette exports pile up quickly. A consistent file name saves time in handoffs and prevents “final_final2.png” chaos.
project-or-client_context_paletteName_v01.png

Examples:
acme_brand_summer-minimals_v03.png
loft-interior_livingroom_warm-neutrals_v01.png
If you include HEX labels in the image, you usually don’t need them in the filename. If you don’t include labels, consider adding 1–2 key colors into the filename for searchability.
Optional: include a “developer-ready” section alongside your PNG
PNG is great for visuals, but you can reduce back-and-forth by pairing the image with copyable values. One lightweight approach: add a small code block in your project doc that mirrors the swatches.
Example: CSS variables that match your PNG palette
:root {
  --color-bg: #F6F3EE;
  --color-surface: #E7DED2;
  --color-text: #1F2937;
  --color-accent: #C56B4A;
  --color-muted: #8A8178;
}
This is especially helpful when someone asks you to “just send the colors.” You can send the PNG for context and the variables for implementation.
Quick checklist: a clean palette PNG export
- Swatches: 5–8, evenly spaced
- Order: light→dark or usage-based
- Labels: HEX included (and contrast-safe)
- Background: neutral or transparent
- Size: 1200–2000 px wide (or 1920×1080 for slides)
- Filename: project_context_palette_v01.png
Putting it all together
When you save color palette to PNG, you’re not just exporting colors—you’re exporting clarity. A well-labeled, well-ordered PNG prevents mismatched assumptions, speeds up approvals, and makes palettes portable across any workflow (design, interiors, branding, or content creation).
If you already build palettes from photos on iPhone or iPad, an app like Color Viewfinder can make it easier to extract accurate values first—then you can export or assemble a polished PNG for sharing and documentation.
